QWILR + SALESFORCE
Setup & Installation Guide
This content has been moved
You can find the updated version in our help documentation.
Welcome!
This is a guide to help Salesforce Admins add Qwilr for their team.
We have detailed written and video guides for both Lightning & Classic.
Other useful guides are:
Salesforce Variable Fields Guide
If at any stage you would like some help with this please reach out to the team via help@qwilr.com or see our help docs at help.qwilr.com
Installation
- 1.Log in to your Salesforce Admin account
- 2.Head to Qwilr's listing on the App Exchange
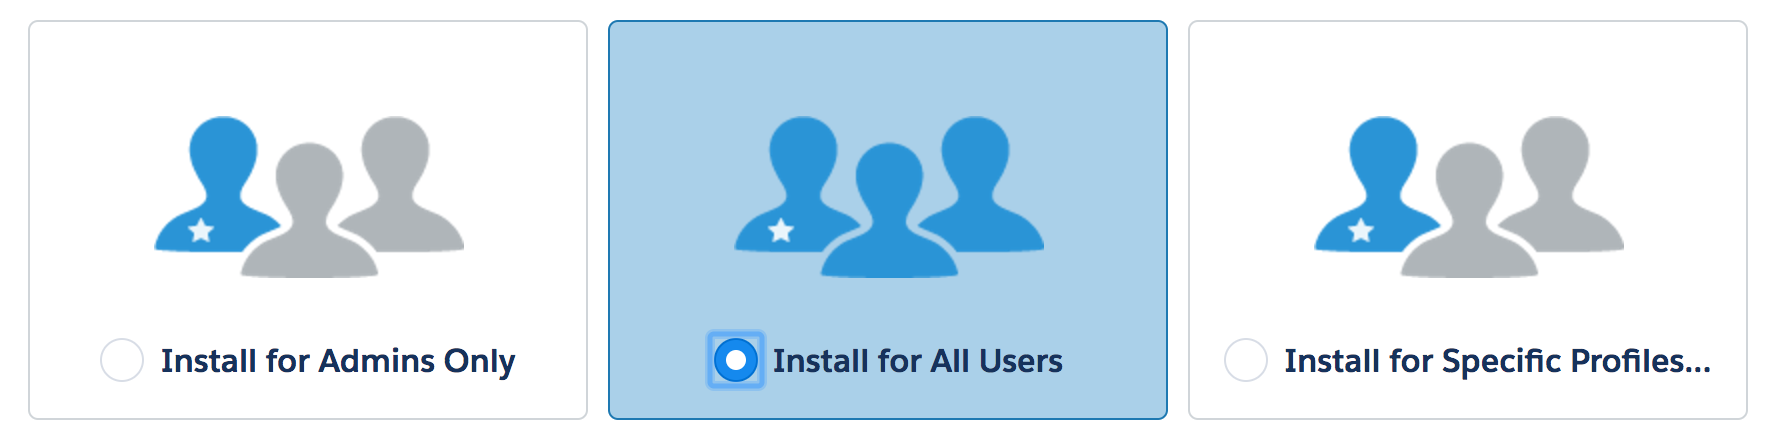
- 3.Select 'Install for All Users' and click Install
Lightning Setup
Once you have installed the Qwilr App you can add the Qwilr App to be visible on your Salesforce Lead, Contact, Opportunity and/or Account pages.
The setup for each page is the same - in the example below we will add it for the Opportunity Page.
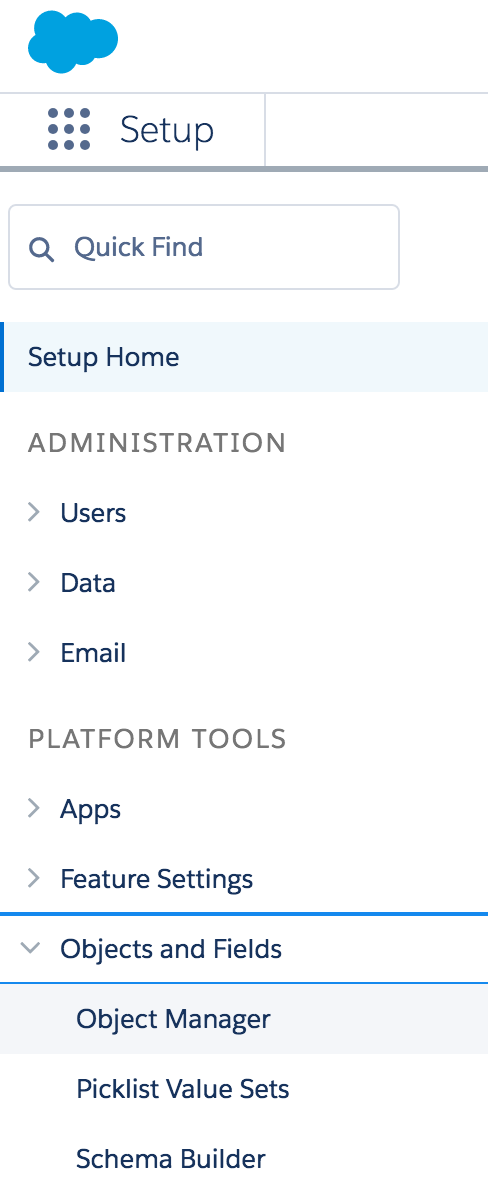
Go to Setup - via the Gear icon in the top right

Via the left Navigation Bar - click Objects & Fields >>> Object Manager
Currently Qwilr can be embedded into any or all of the Lead, Opportunity, Account or Contact sections of Salesforce.
For this example we will use Opportunity (as it, along with lead, are the more common choices).
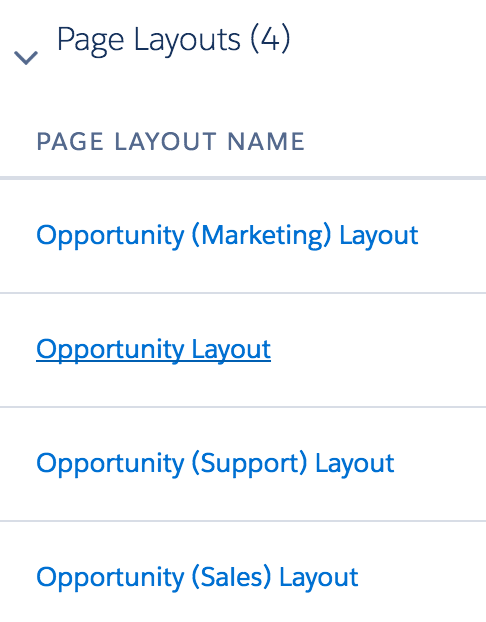
Once in Opportunity, go to Page Layouts >>> Opportunity Layout.
(If you were doing this for Lead this would be Lead Layout)
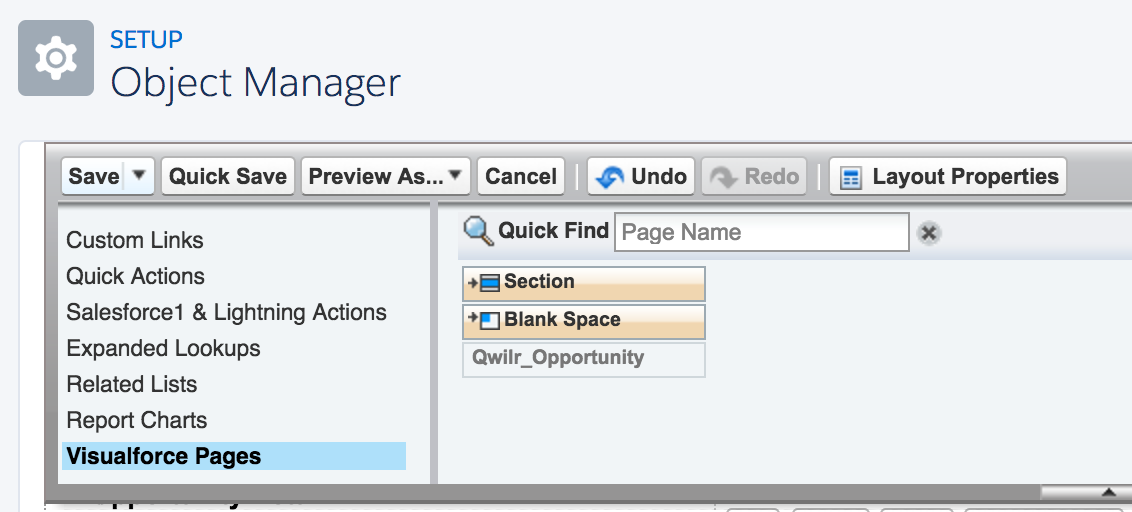
In Object Manager at the top of the page select the Visualforce Pages option (you may need to scroll down to see it). From here you can drag a new Section into the position you would like it on the Opportunity page - which will be shown below the Object Manager.
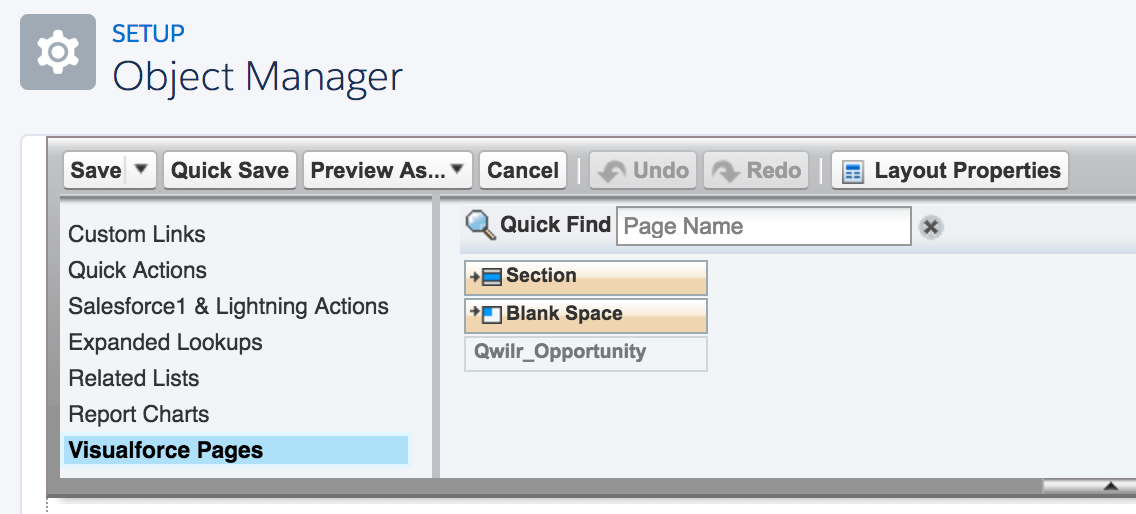
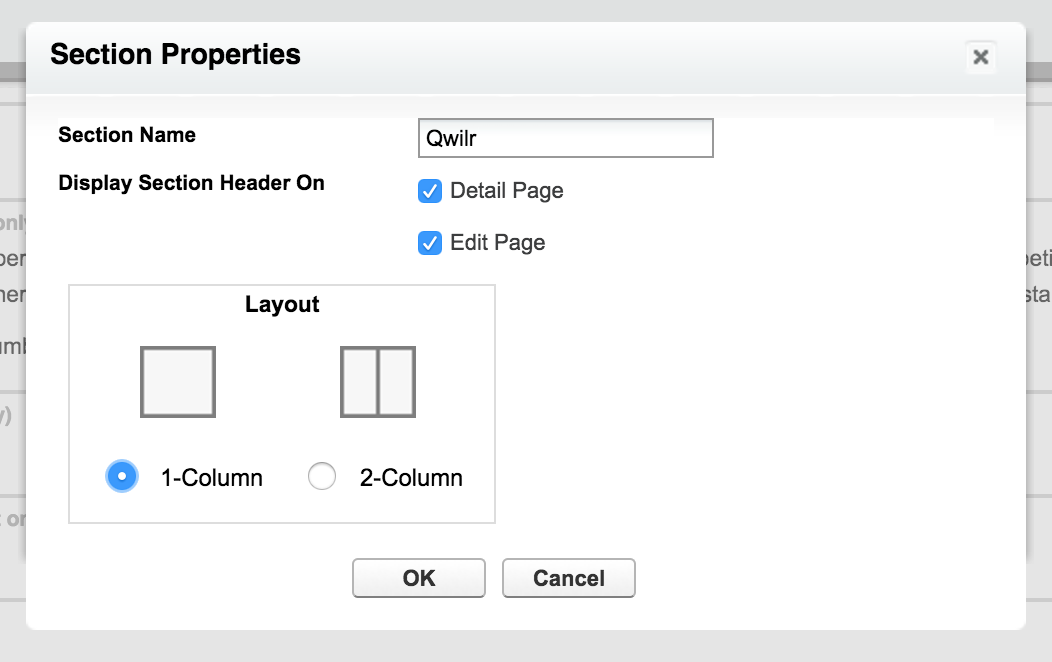
Name the Section Qwilr and select the 1-Column Layout. Press OK.
Then Drag the grey Qwilr_Opportunity icon from the Object Manager into the new Qwilr Section that you have just created.
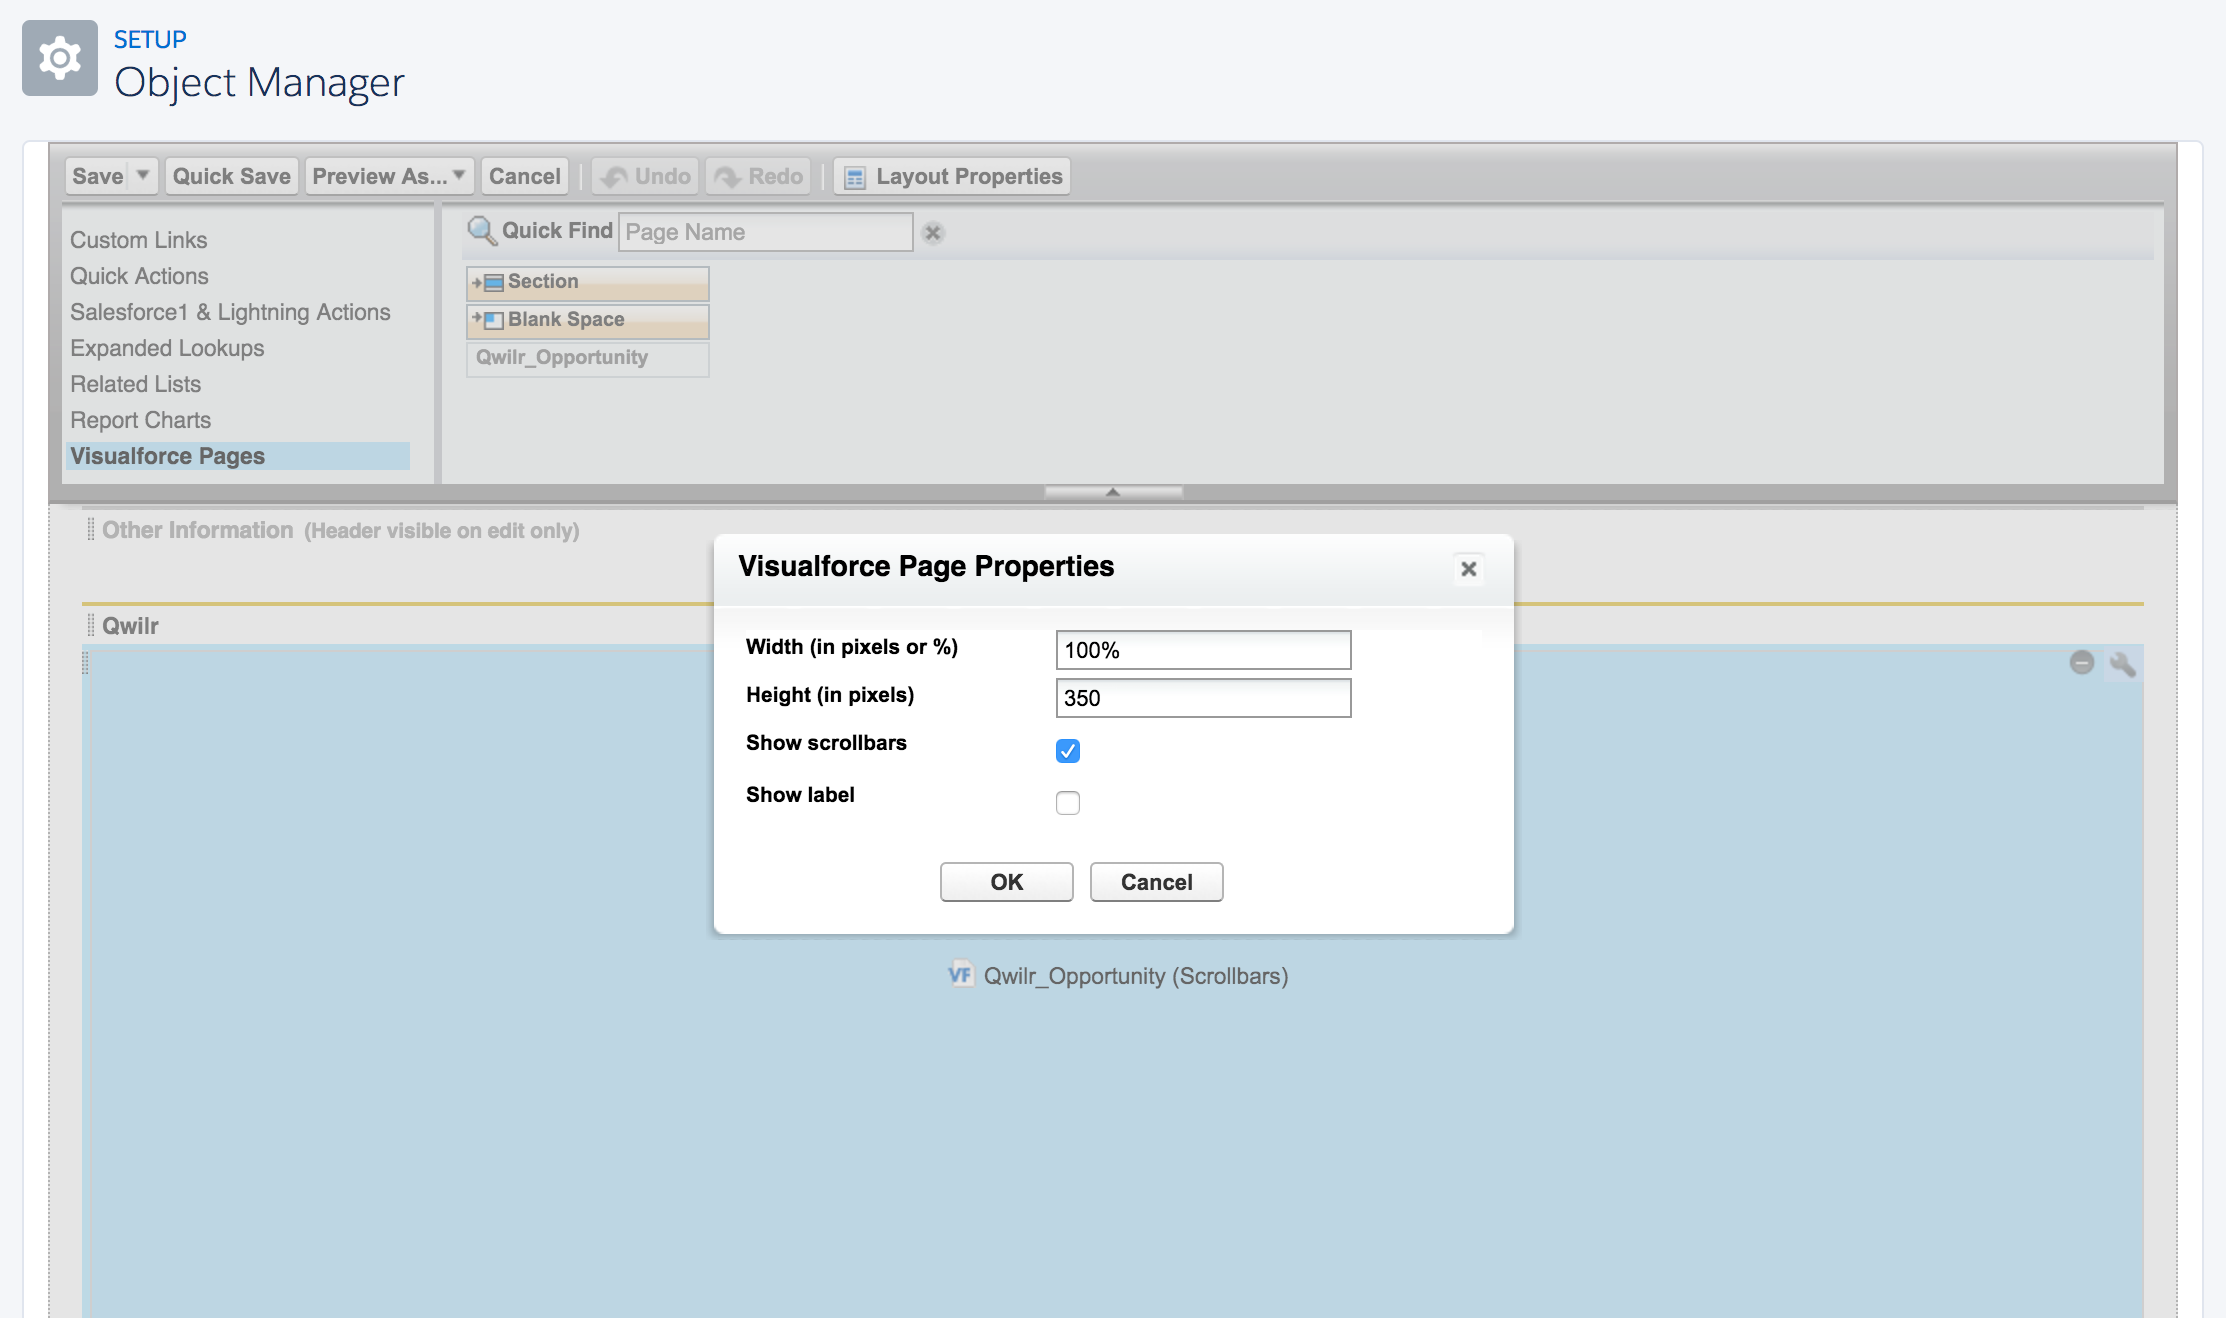
Once done, click on the Wrench Icon in the top right of the Qwilr_Opportunity Section to go to Properties:
A) Adjust the Pixel Height to 350
B) Check the Show Scrollbars box
Press OK
Then Click on Save at the top left of the Object Manager.
That's It! 🎉
You have now installed Qwilr into the Opportunity Page for all users in your Salesforce Org. If you wish to add Qwilr to Lead, Account or Contact simply follow the same steps for them from the Object Manager part of Setup.
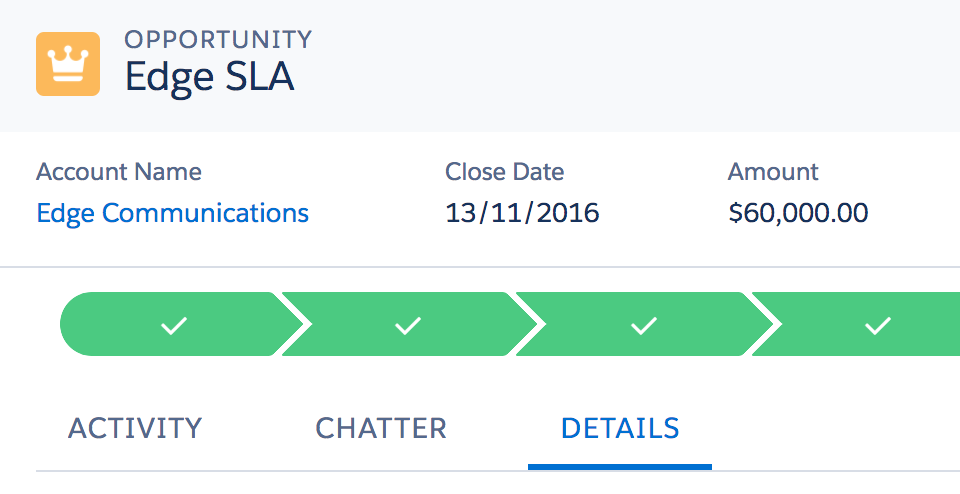
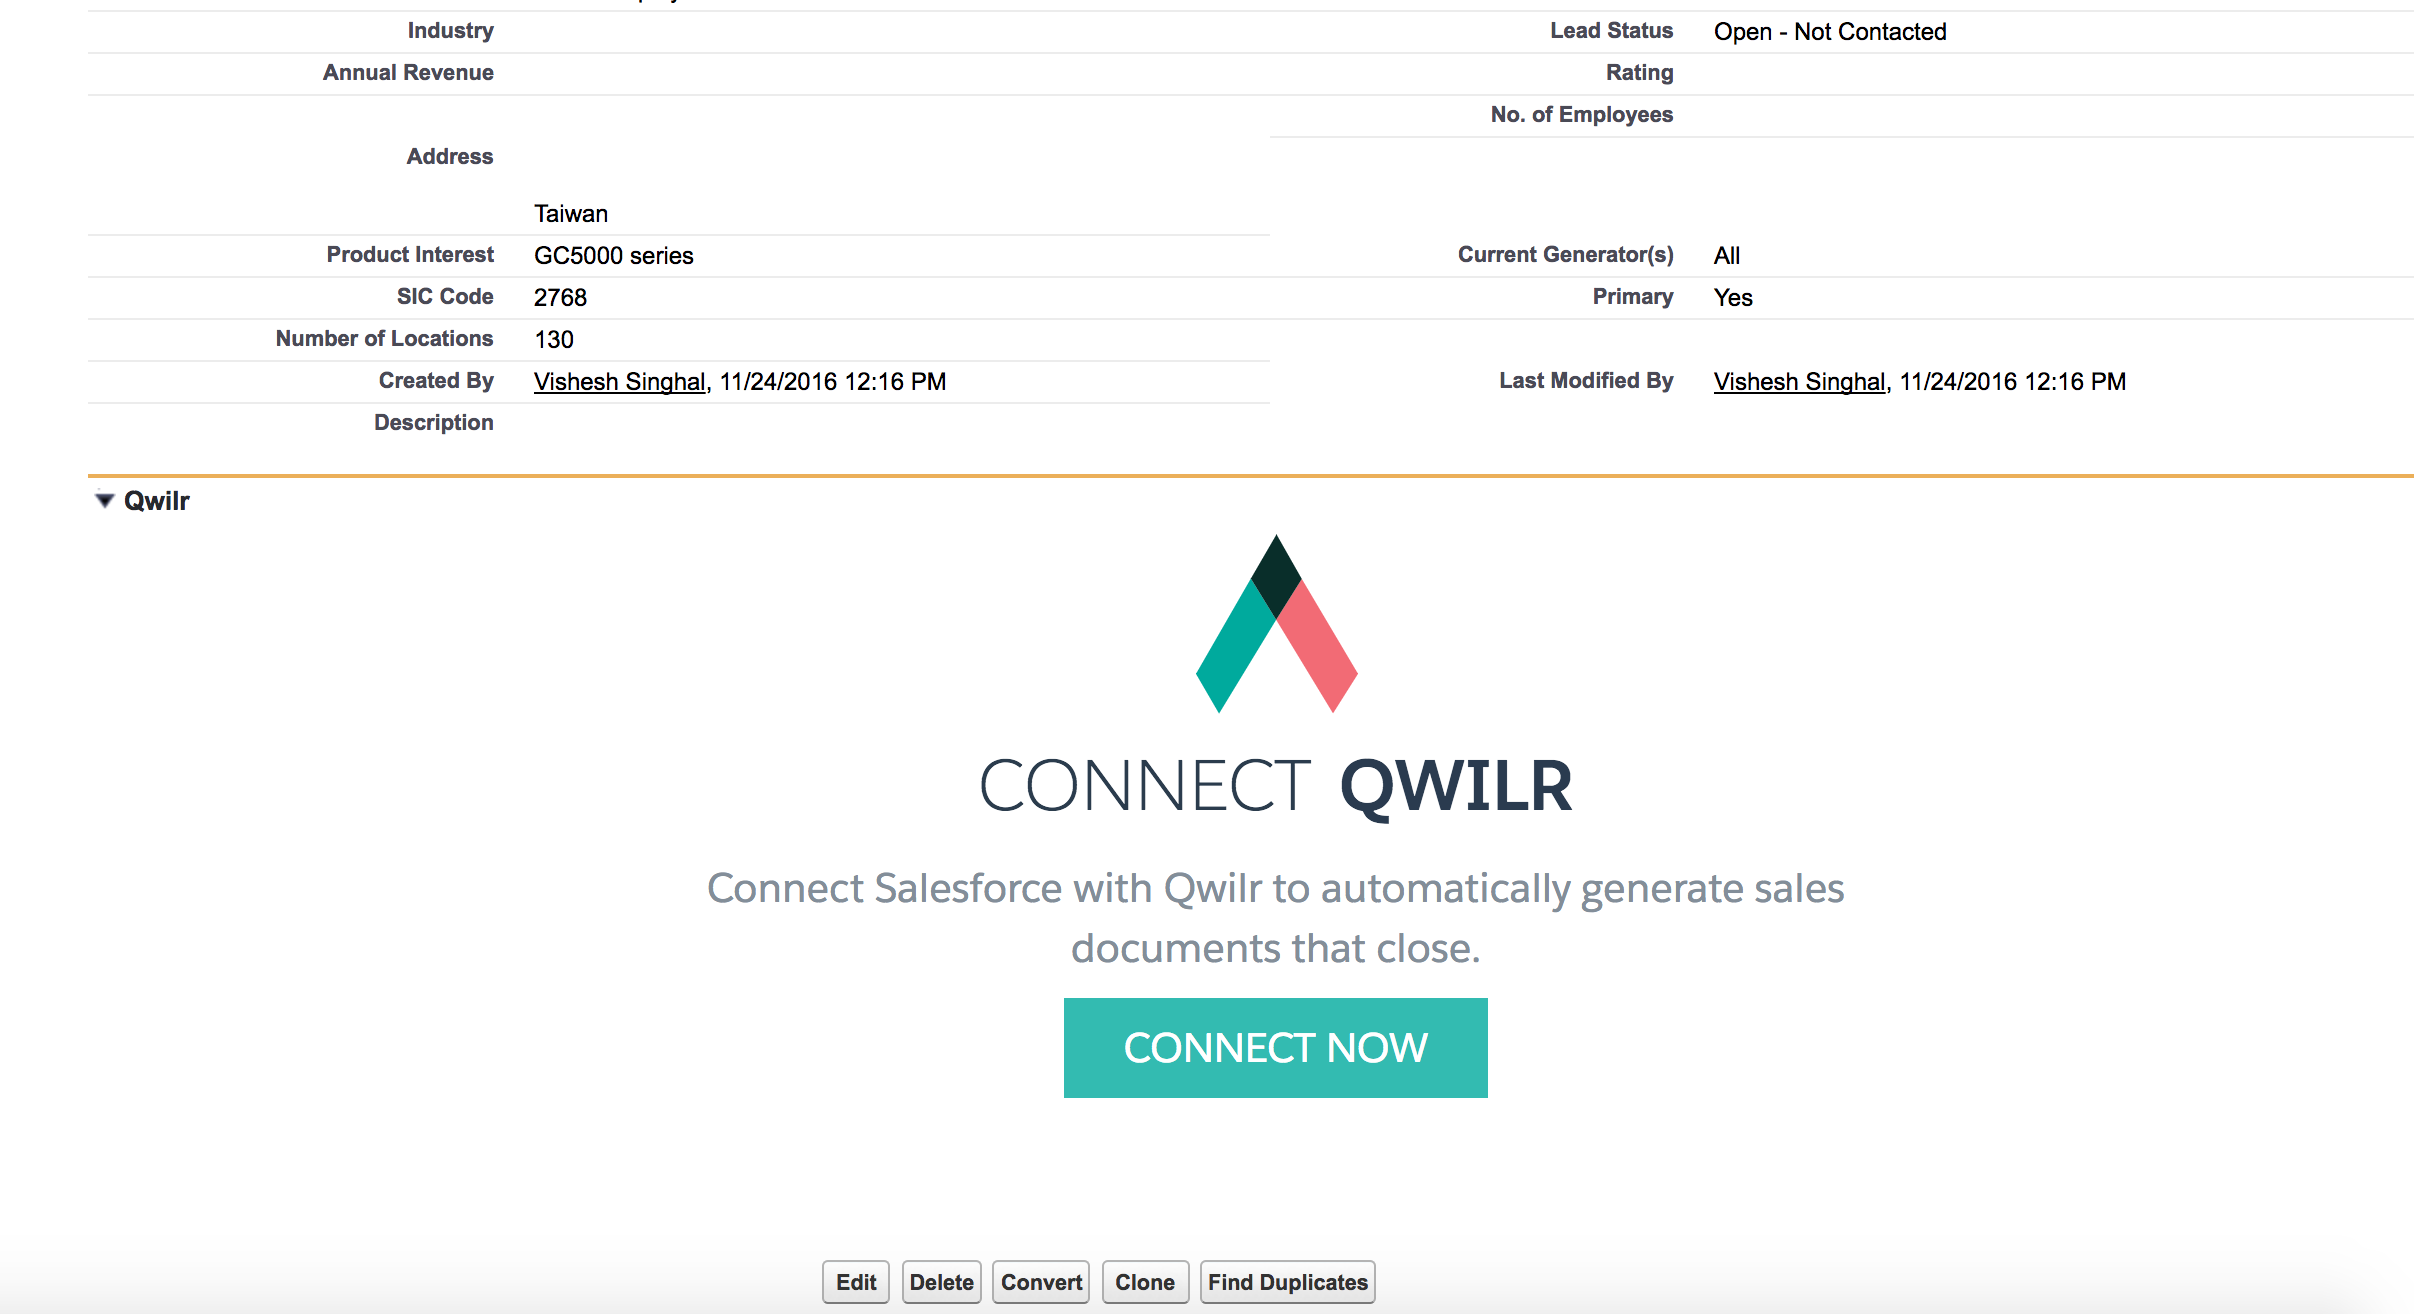
To see the Qwilr App - simply go to any Opportunity and click on the Details tab.
The first time you, or any of your users, go to Qwilr you will have to connect your Qwilr Account to your Salesforce Account. This is a one time process for each user that takes ~20 seconds.
NOTE: Qwilr matches the email account ID we have on file with the email account ID in your Salesforce account. If these do not match, you won't be able to connect your accounts. For help in updating your Qwilr email account ID simply email our Customer Support team via help@qwilr.com
Now that you have installed Qwilr - Click here to go to Qwilr's Help Site to learn more about how to use Qwilr.
LightningSetup
This example adds Qwilr to the Contact Page (2min 40s)
Bulk Creation
Qwilr's Salesforce integration not only makes it much faster to create documents for each Lead / Opportunity / Contact / Account - it also lets you create multiple documents at once!
To do this, simply add a Qwilr button to Salesforce object list views to mass produce Qwilr documents.
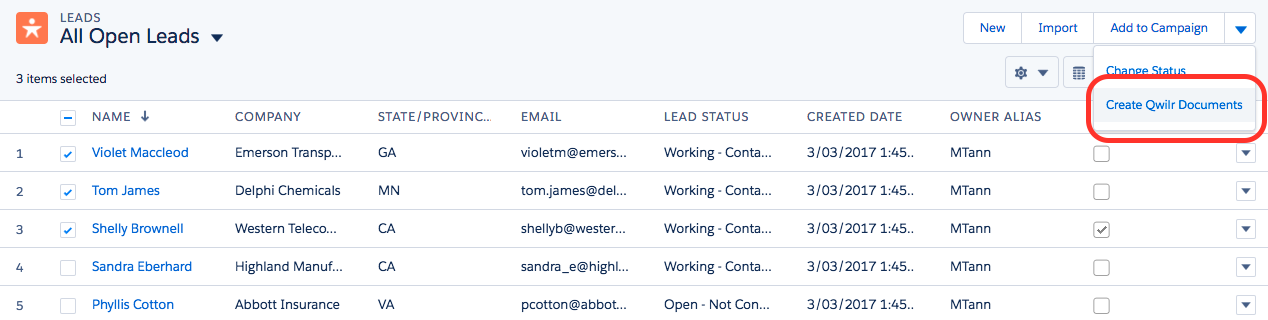
Lightning
The 'Create Qwilr Documents' button will allow your users to create Qwilr documents for these three users in seconds.
To do this you will need to go back to the Object Manager page (as above).
Setup >>> Objects & Fields >>> Object Manager
Then select the relevant object (Lead / Opportunity / Account / Contact). We'll do this example for Lead.
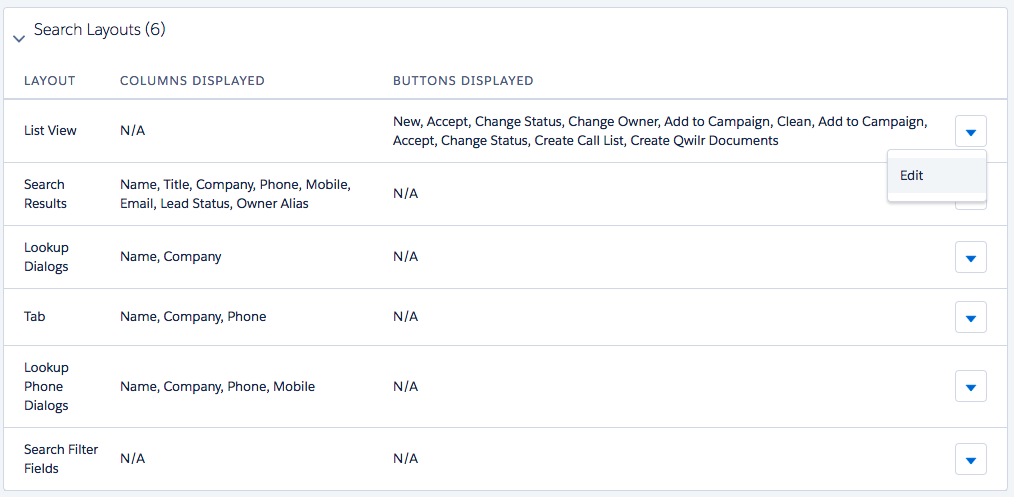
Go to Search Layout >>> List View >>> Edit
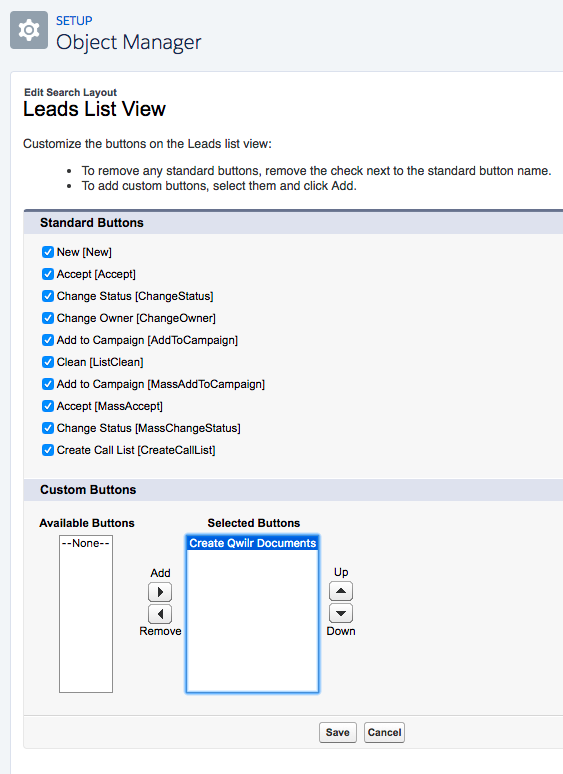
Move 'Create Qwilr Documents' from Available Buttons to Selected Buttons.
Click Save.
That's it! The button will now appear for Leads. You can add this to other objects too by following the same steps.
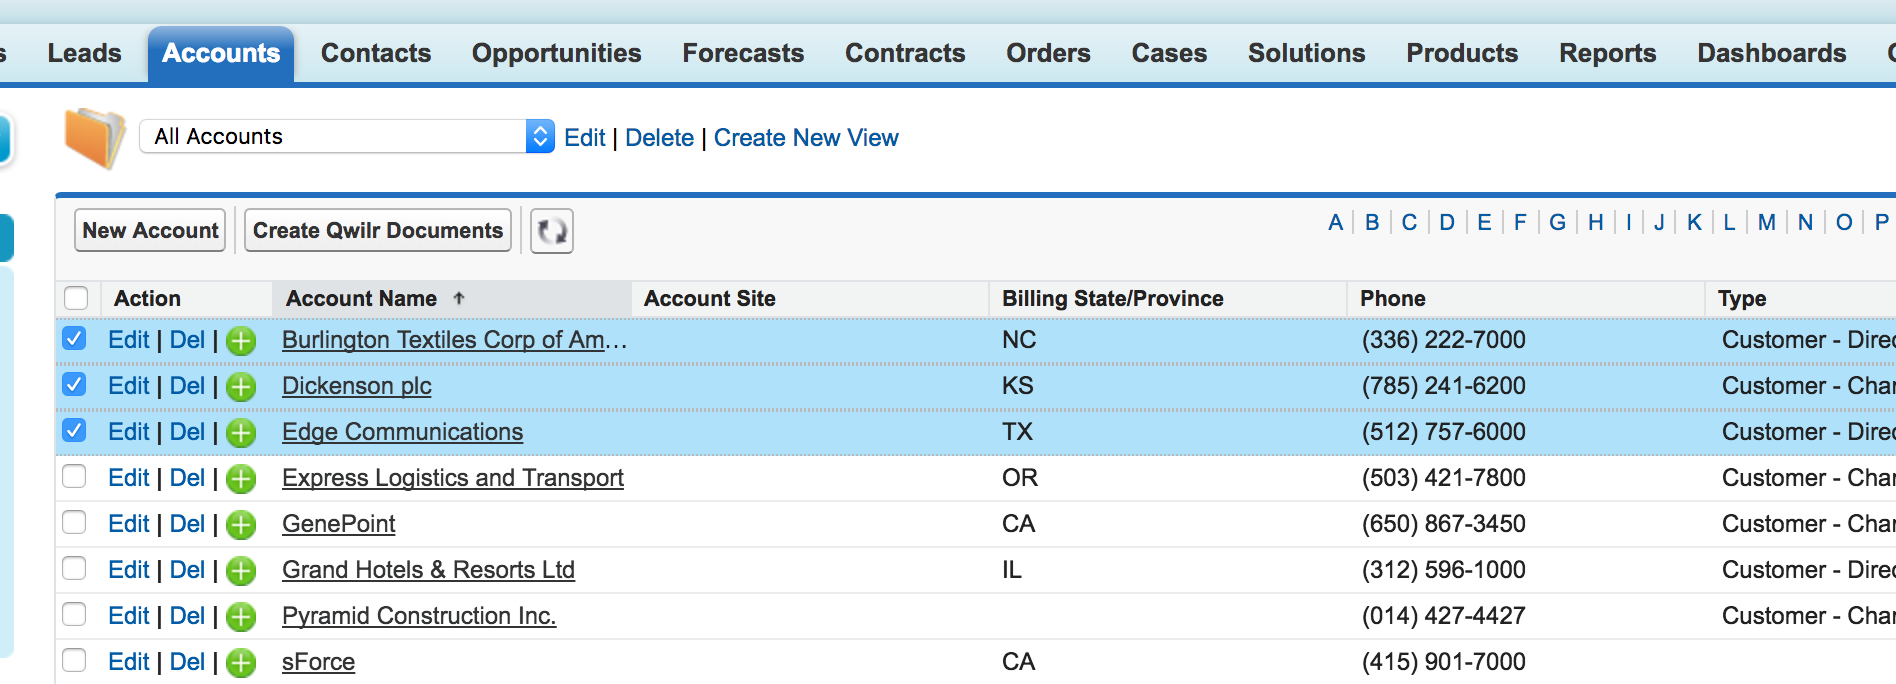
Classic
The 'Create Qwilr Documents' button will allow us to create personalised documents for these three users in under a second.
To add this 'Create Qwilr Documents' button to a Leads list view, simply go to:
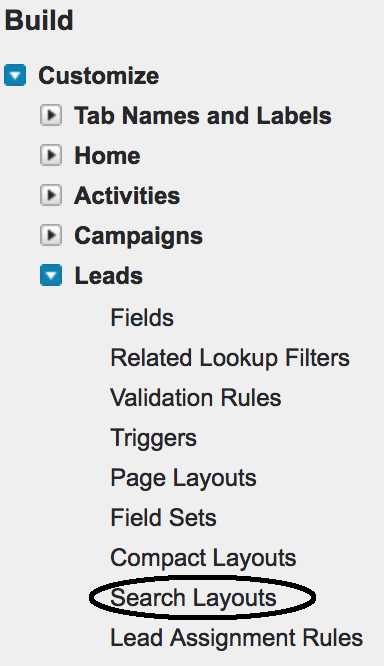
Setup >>> Customize >>> Leads >>> Search layouts
(You can do the same with other Objects)
Click 'Edit' before Leads List View
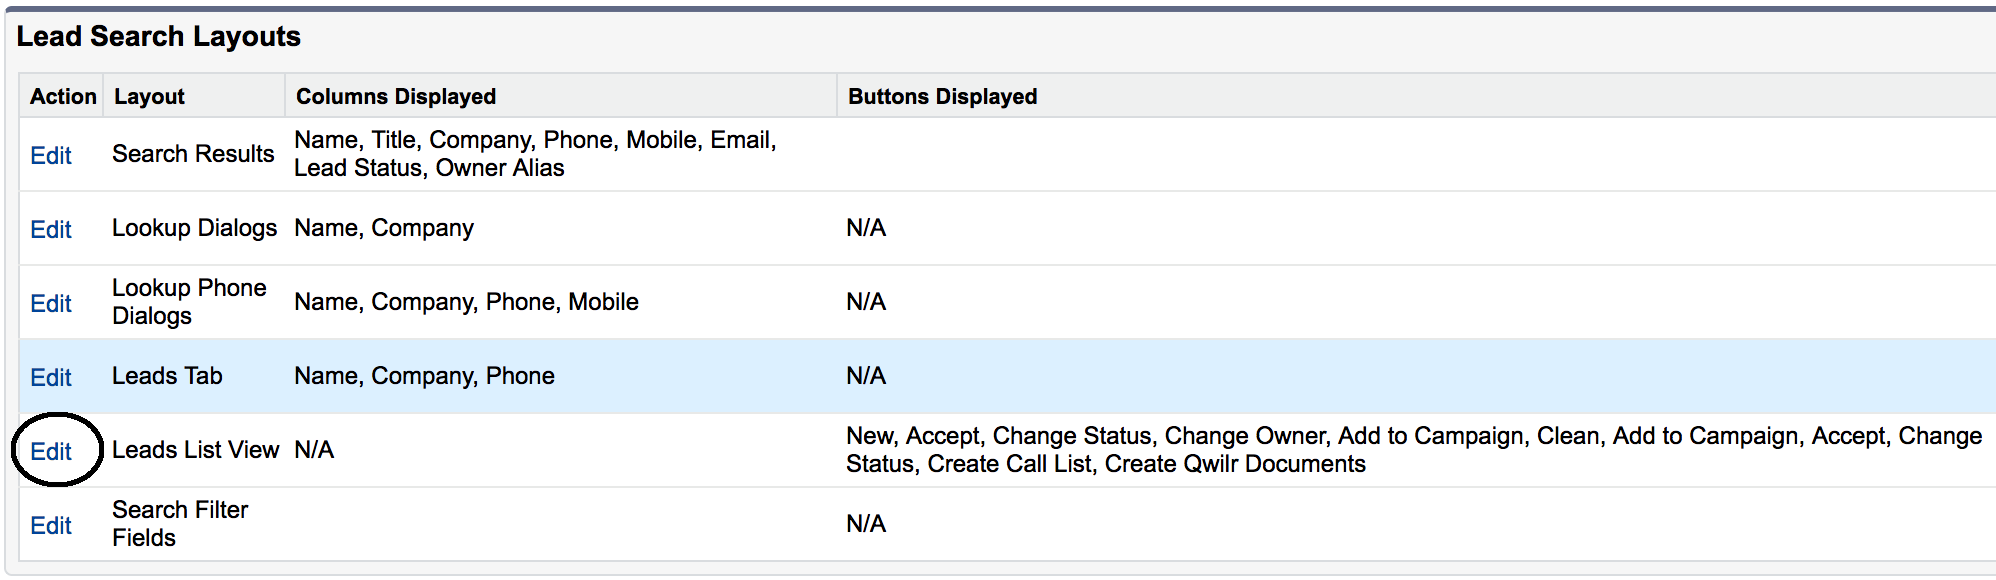
Add 'Create Qwilr Documents' to list view layout.
Classic Setup
Adding Qwilr to Salesforce pages
In this example we'll add Qwilr to the Lead Layout - but you can use these steps for Account, Opportunity or Contact too. See the short video below for more.
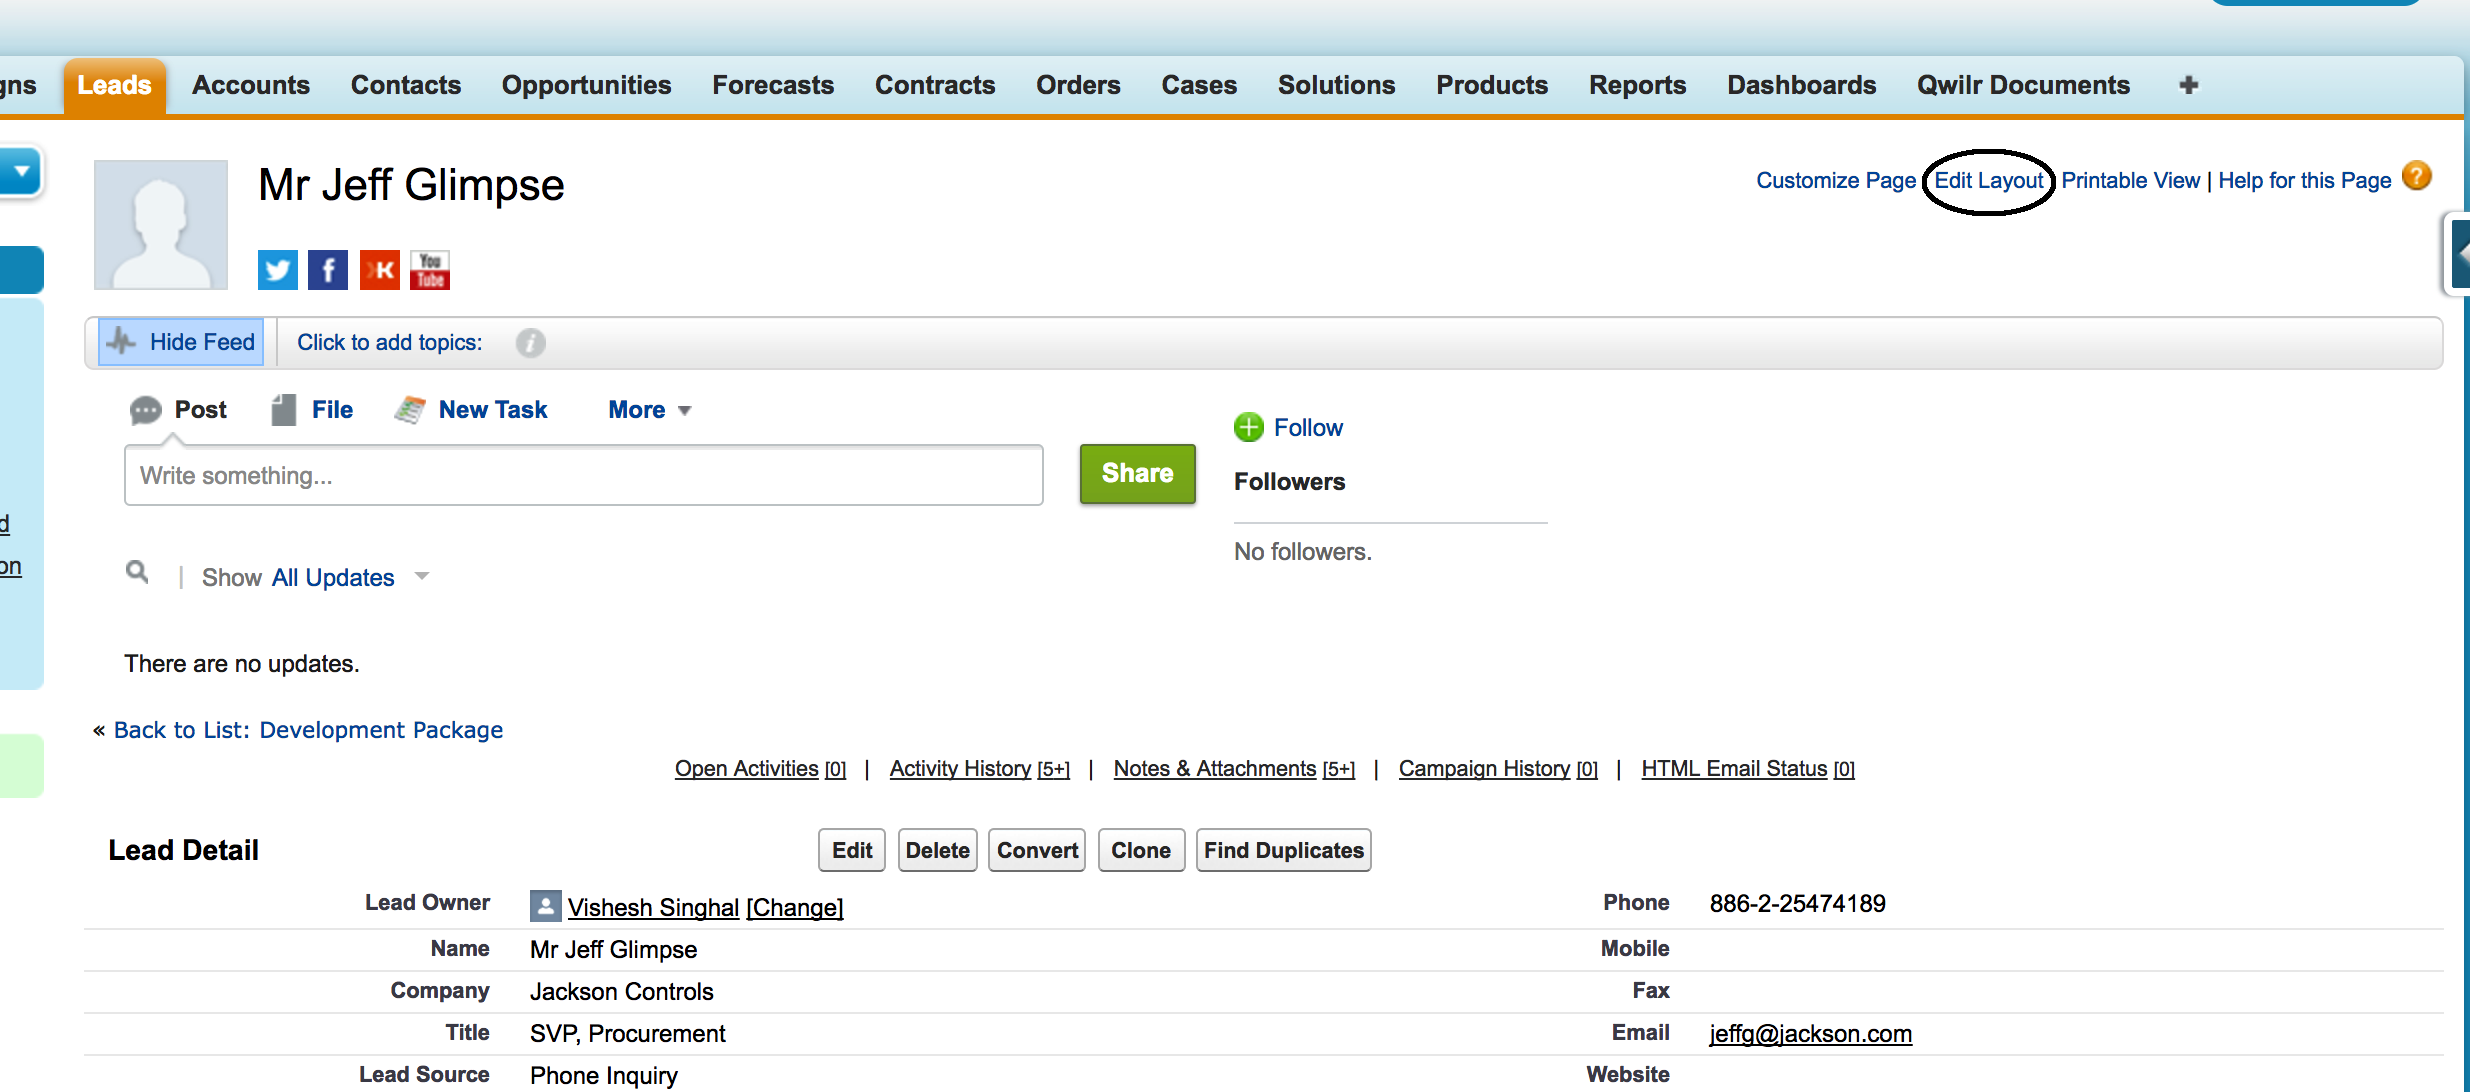
To add Qwilr widget to Lead layout:
Go to any lead and click ‘Edit Layout’ in top right.
In the Lead layout tab, click on ‘Visualforce Pages’, drag and drop a New Section to where you want Qwilr to live on the page layout.
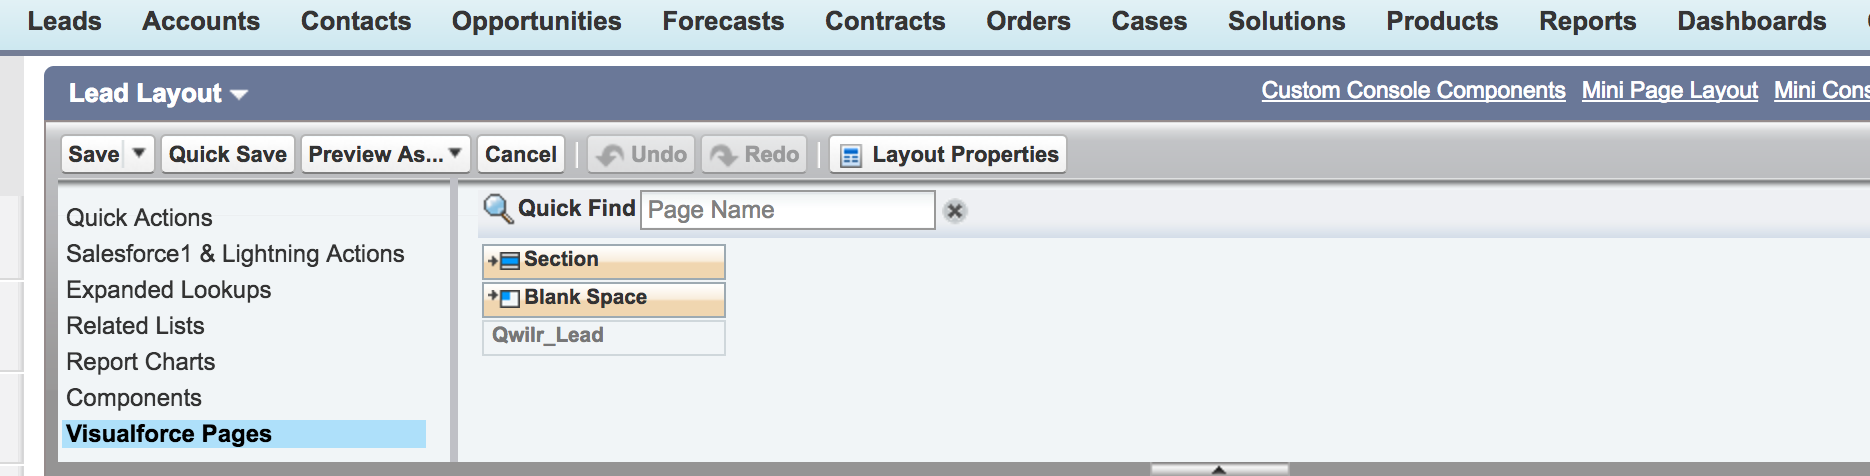
Set the Section name as 'Qwilr’. Select the layout as ‘1-Column’.

Drag and drop ‘Qwilr_Lead’ in the newly created ‘Qwilr’ section. Ensure you set the height as 350 and check ‘Show scrollbars’.

Qwilr will now be available on the Lead page.
Classic Setup
This example adds Qwilr to the Contact Page (1min 30s)
Uninstall :(
To uninstall Qwilr, remove the Qwilr widgets and buttons from all of the object layouts that you added them to.
To do this, follow the setup instructions given above, this time removing the components instead of adding them.
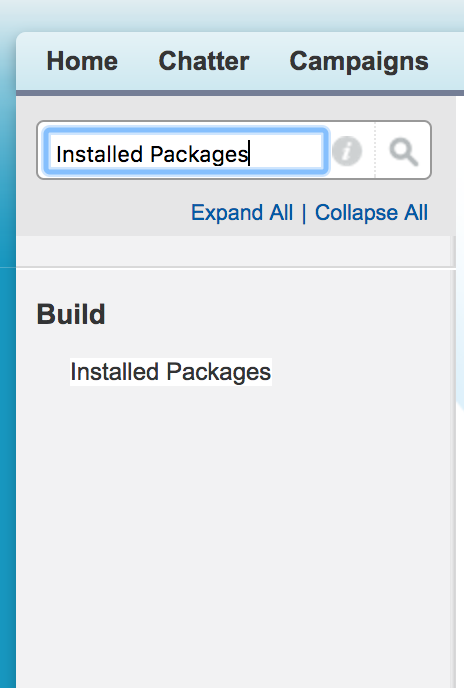
Next, go to the Installed Packages list by searching 'Installed Packages' in the left sidebar on Setup page:
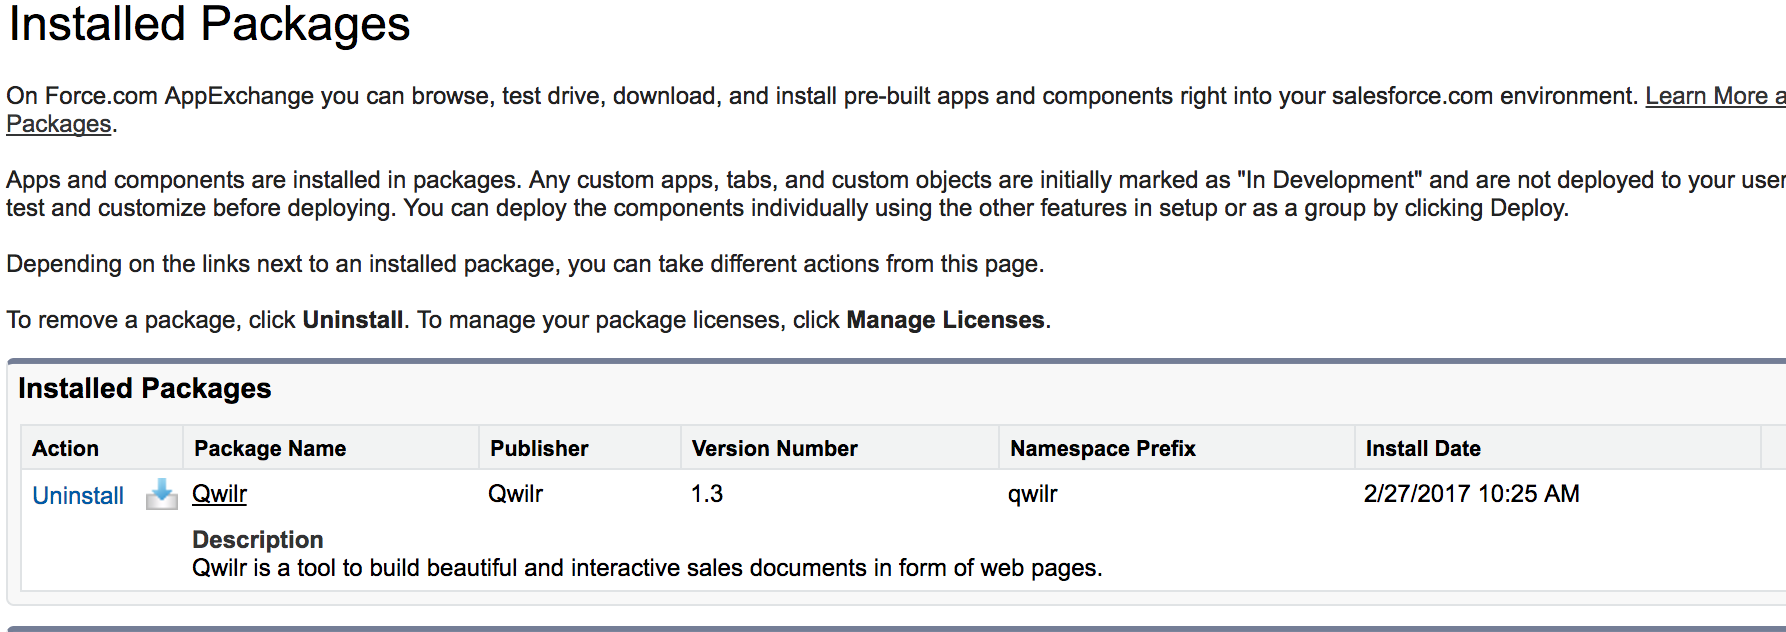
Click Uninstall link for Qwilr package:
We always appreciate feedback - so if there is something that we could have done better please let us know via help@qwilr.com
Qwilr Overview
90 second introduction video
Qwilr Fundamentals
20 minute webinar